
FAMILY-RUN · LAKEWOOD, NEW JERSEY
Premium Glass Jars
Oversized mason jars, refillable bottles, and party-scale dispensers — thick glass, airtight lids, made to be used every single day.
What are you storing?
Tap one — we will take you straight to the right glass.


Best Sellers
-
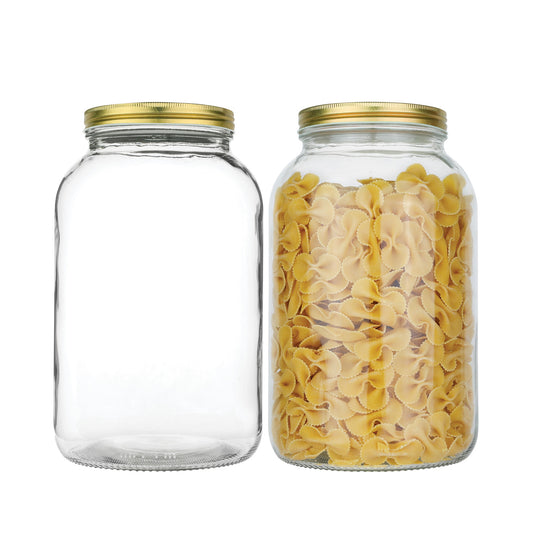
1 Gallon Glass Mason Jar with Airtight Metal Lid – Wide Mouth, 2 Pack – USA Made Fermentation & Food Storage Jar
Regular price $43.75 USDRegular price -
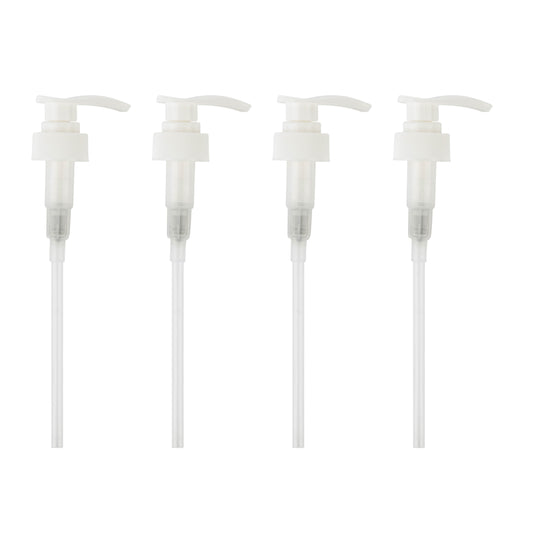
33mm Replacement Pump Tops for 32oz Boston Round Bottles – 33-400 Neck, Soap & Lotion Dispenser Pumps, 2 & 4 Pack
Regular price From $14.00 USDRegular price -
Half Gallon Glass Mason Jar with Lid – 64oz Wide Mouth, 2 & 6 Pack – USA Made Canning & Fermenting Jar (Gold)
Regular price From $48.00 USDRegular price -
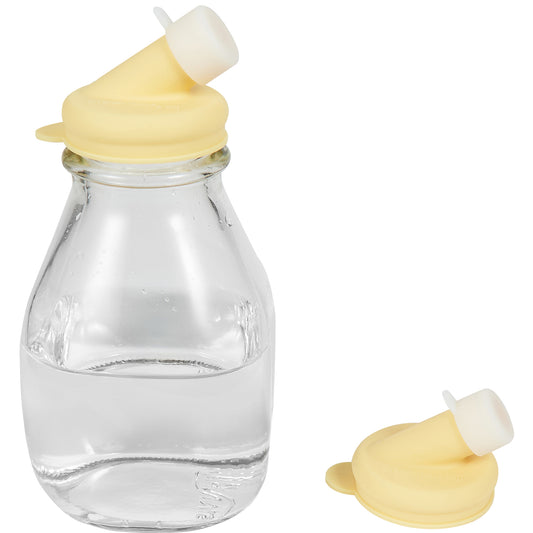
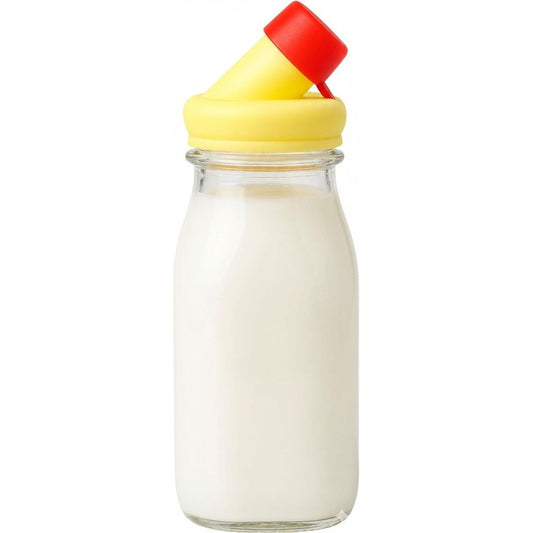
Silicone Pour Spout for 48MM Glass Milk Bottles
Regular price $21.99 USDRegular price -
Replacement Filter for Cold Brew Dispenser
Regular price From $18.99 USDRegular price -
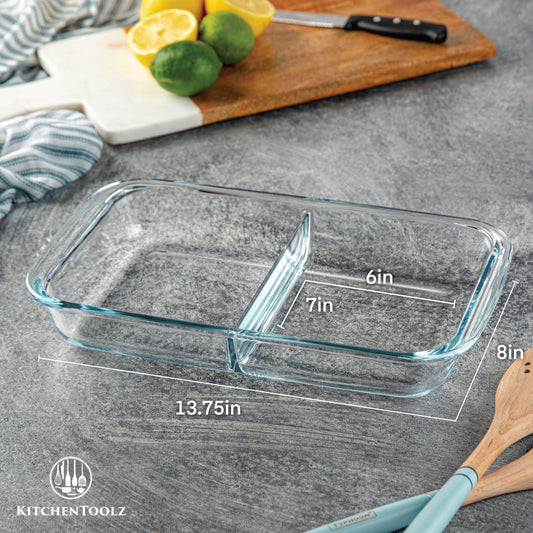
Divided Glass Casserole Dish Bakeware Set
Regular price $60.00 USDRegular price -
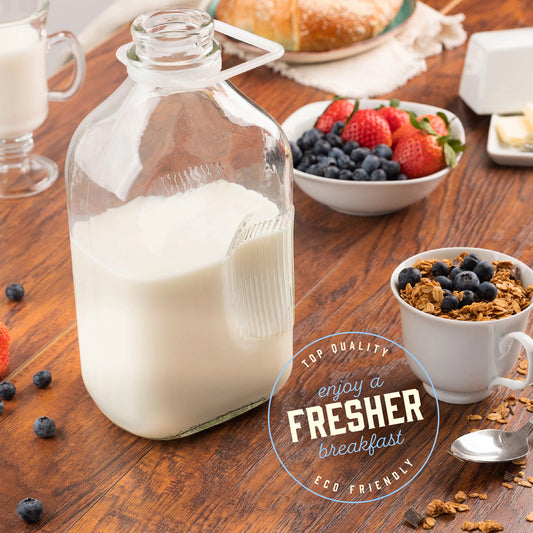
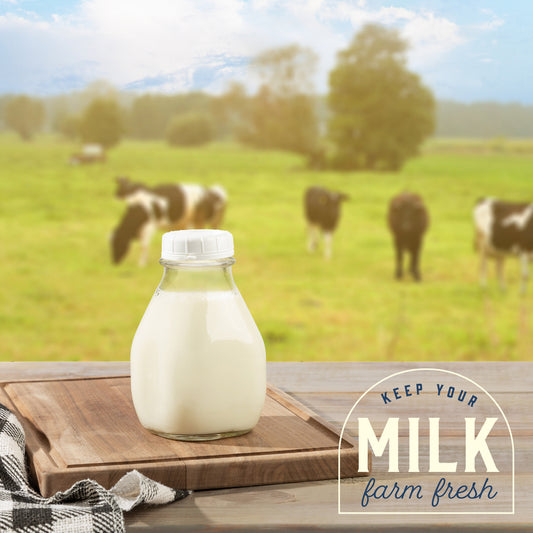
64oz Farmhouse Glass Milk Bottle - Carry Handle
Regular price From $32.99 USDRegular price -
Pour Spout for 48MM Glass Milk Bottles
Regular price From $6.99 USDRegular price


Which jar do you actually need?
The 30-second cheat sheet:
64 ozHolds a full bag of coffee beans or 4 lbs of sugar. Fits fridge shelves.
1 GallonSwallows a 5 lb flour bag with room to spare. The counter workhorse.
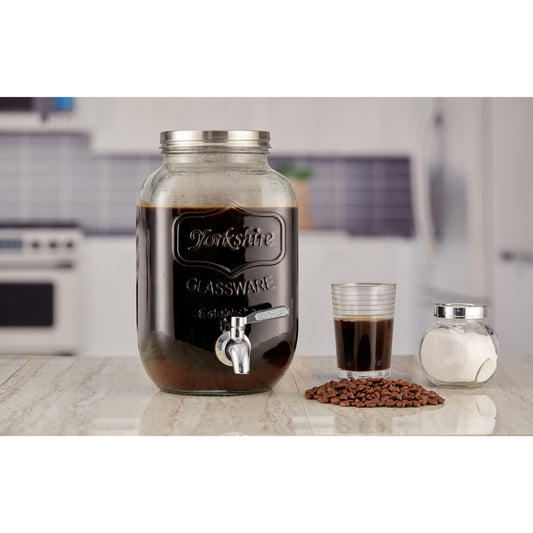
2 Gallon +Warehouse-club hauls, XL cookie jars, big-batch ferments.
Gift-Worthy Under $30
-
33mm Replacement Pump Tops for 32oz Boston Round Bottles – 33-400 Neck, Soap & Lotion Dispenser Pumps, 2 & 4 Pack
Regular price From $14.00 USDRegular price -
Silicone Pour Spout for 48MM Glass Milk Bottles
Regular price $21.99 USDRegular price -
Replacement Filter for Cold Brew Dispenser
Regular price From $18.99 USDRegular price -
Pour Spout for 48MM Glass Milk Bottles
Regular price From $6.99 USDRegular price -
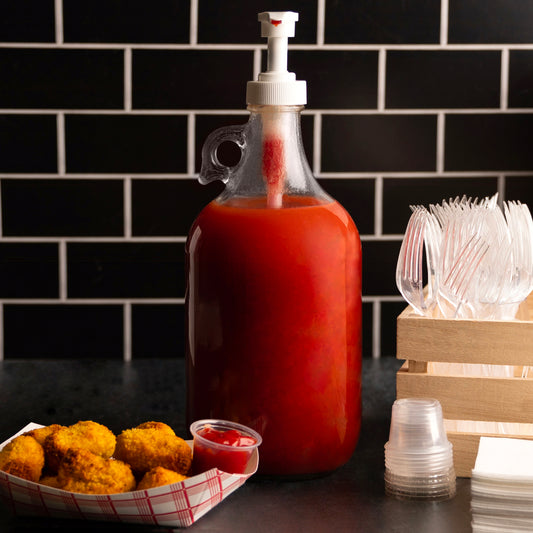
Half Gallon Glass Pump Dispenser Bottle
Regular price From $29.99 USDRegular price -
16oz Farmhouse Glass Milk Bottle - Squat
Regular price From $24.99 USDRegular price


Ships Safe, GuaranteedCustom glass packaging. Broken on arrival? Replaced free, no return.
Airtight, For YearsFood-grade liners and silicone gaskets on every lid style.
Family Business, NJReal people in Lakewood. A person reads every message.
USA-Made GlassAmerican-made thick glass across much of the line. Shop USA →

Good to Know
Are the lids really airtight?
Yes — metal, wooden, and swing-top lids all seal airtight with food-grade liners or silicone gaskets. Plastic lids are foam-lined and leak-resistant.
What happens if my glass arrives broken?
We replace it free with a photo — no return shipping, no hassle. Every order ships in custom protective packaging designed for glass.
Are the jars dishwasher safe?
The glass is dishwasher safe. We recommend hand-washing wooden lids and rinsing gaskets to extend their life.
Do you offer bulk or wholesale pricing?
Yes — case quantities and B2B pricing are available. Visit our Wholesale page to get set up.